How to Take Beautiful Photos of Succulent Plants
Succulents are some of the most photogenic plants you can grow. Their unique shapes, bold colours, and striking patterns make them perfect subjects for photography—whether you’re documenting your own collection, showcasing a succulent arrangement, or creating images to help sell succulents online.
Right now is an especially beautiful season for photographing succulents. After summer’s bright sunshine and the refreshing rains of early autumn, most plants are looking their healthiest—plump, vibrant, and full of life. The softer golden light this time of year also brings out colours and textures in ways you won’t want to miss.
As a professional photgrapher, here are some of my top tips to get the best photos of your plants!
1. Use Natural Light to Highlight Succulent Colours
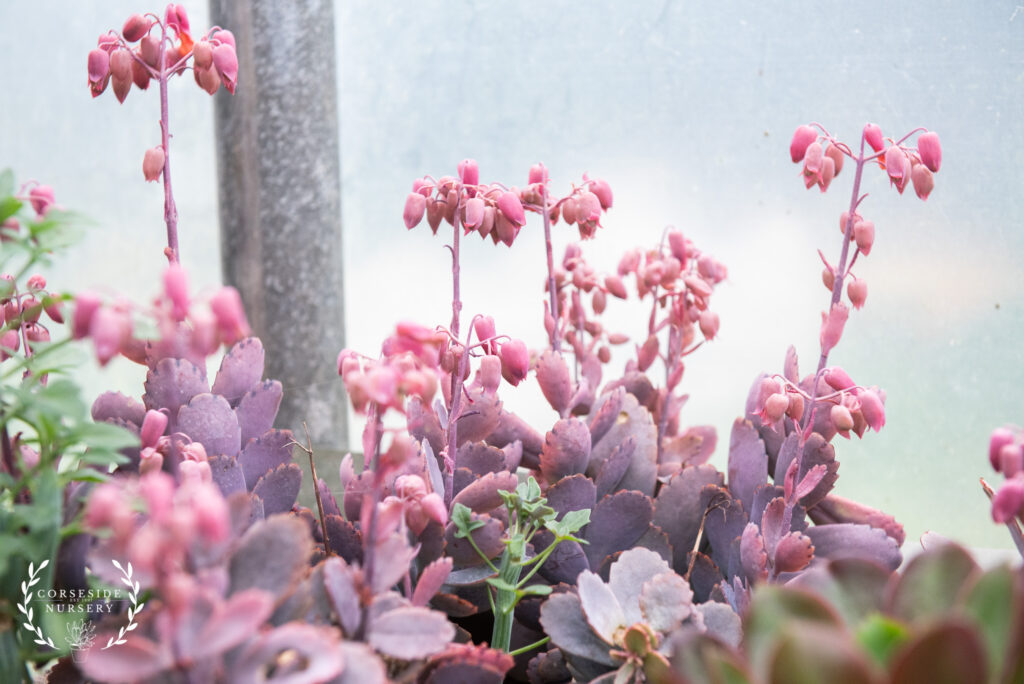
Succulent photography works best with natural sunlight. Early morning and late afternoon—known as the “golden hours”—are ideal for capturing the rich greens, blues, and purples of rare succulents, as well as the pinks and reds of sun-stressed varieties. The gentle light will highlight leaf detail and prevent the washed-out look that harsh midday sun can cause.
2. Capture the After-Rain Sparkle
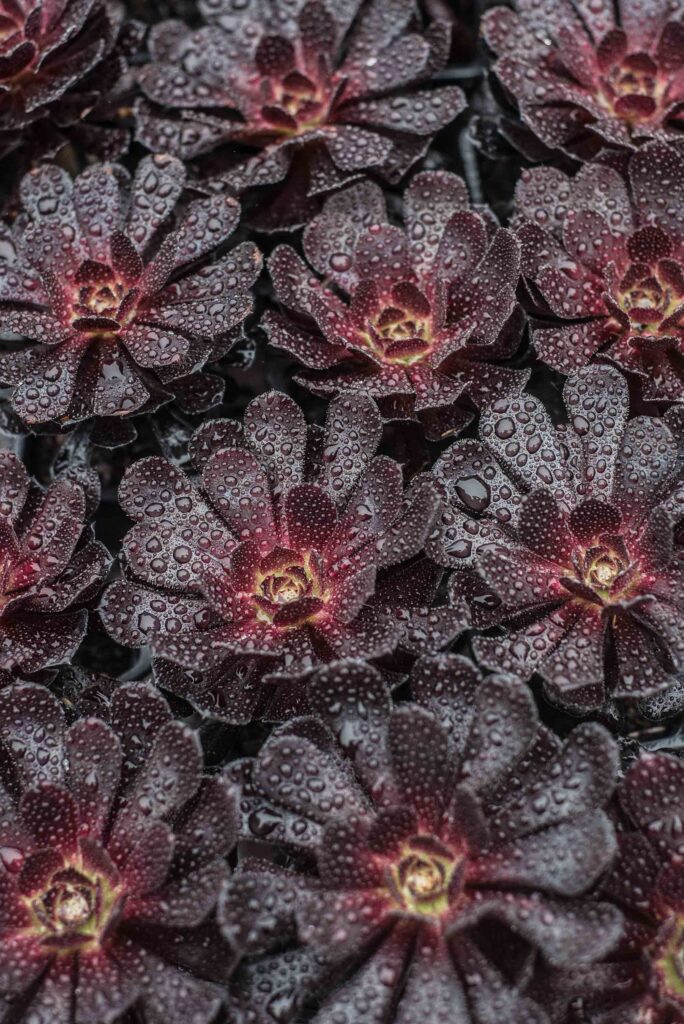
Freshly watered succulents always look their best. Rain (or even a light misting) creates droplets on the leaves that glisten in photos, giving the plant a fresh, healthy look. This is perfect if you’re photographing succulents for sale or posting images to show your thriving indoor succulent collection.
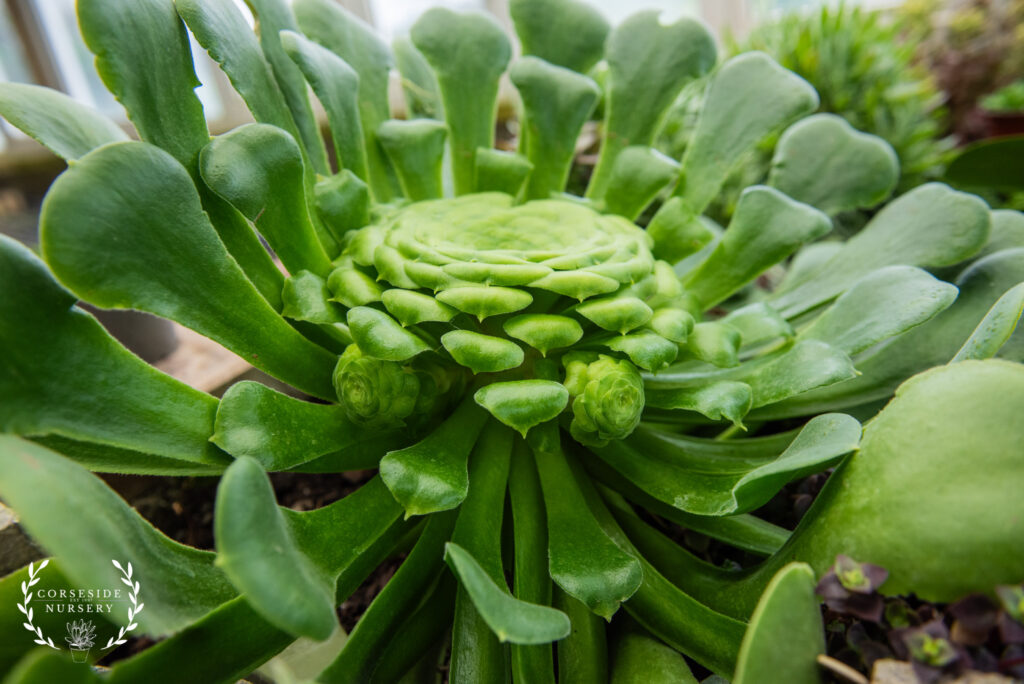
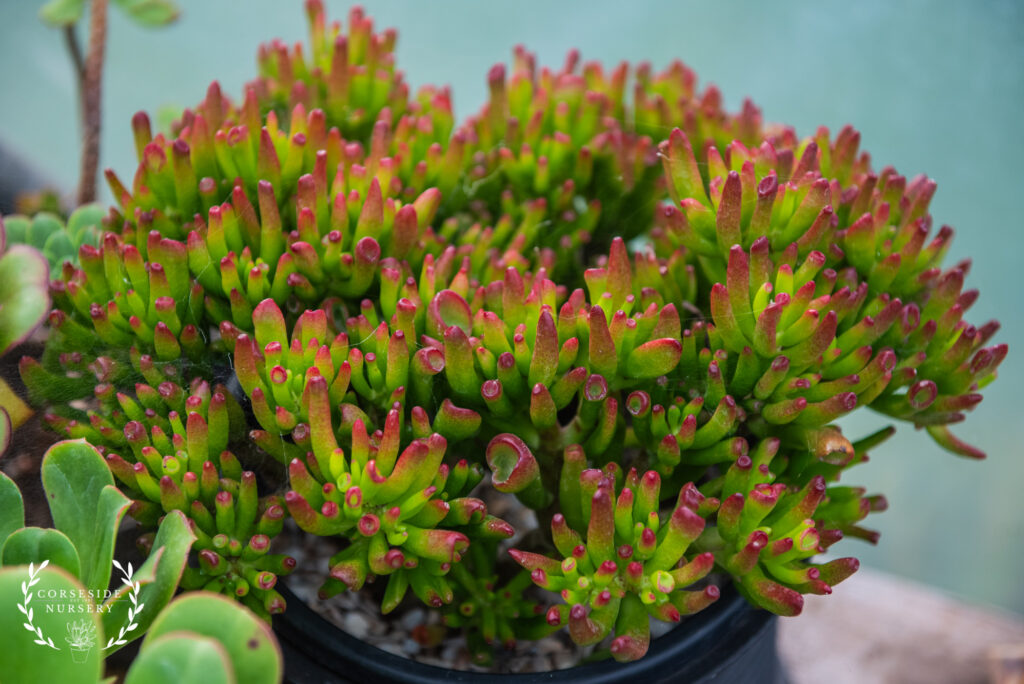
3. Focus on Succulent Details
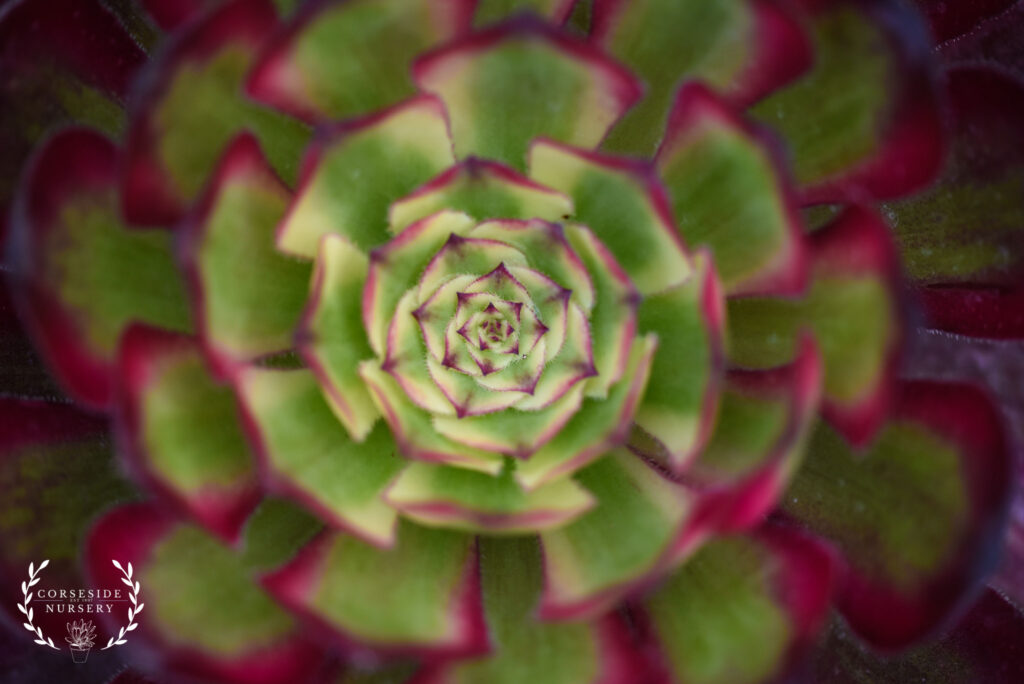
Succulent rosettes, striped leaves, and geometric patterns are what make these plants so fascinating. Get close and let your camera focus on the fine details—whether it’s the spiral of an echeveria, the symmetry of a haworthia, or the fleshy texture of jade plant leaves. These detail shots help tell a more rounded story when shared or collected with pictures of the entire plant.
4. Experiment with Angles and Backgrounds
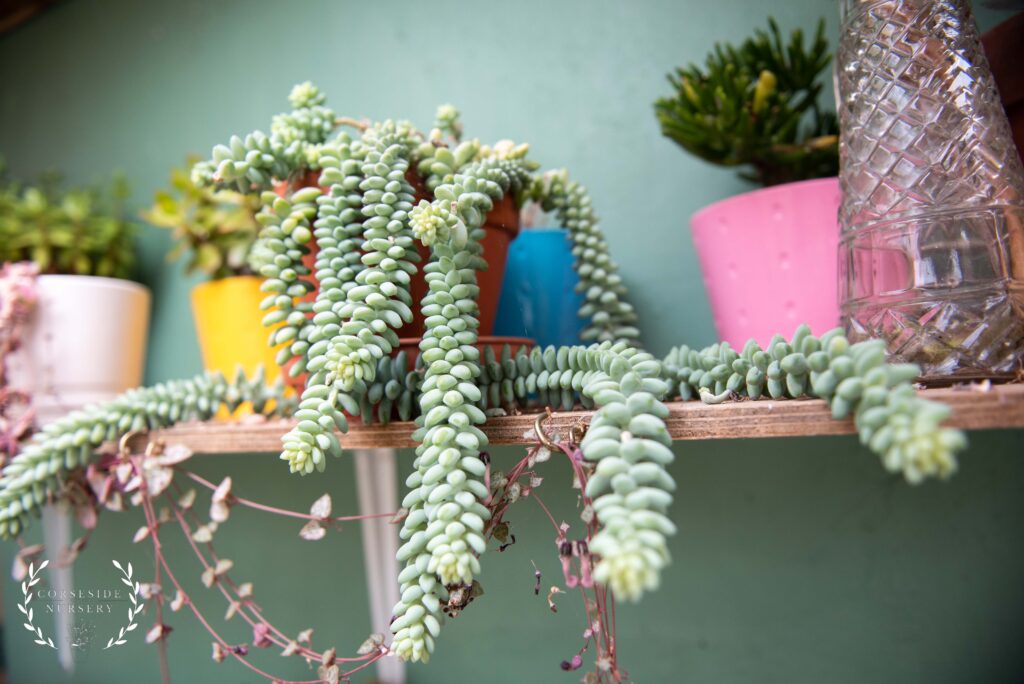
Don’t just snap succulents from above. Try shooting from the side, or even at soil level, to bring out their architecture. Keep backgrounds simple—neutral pots, wood, stone, or plain walls work well—so that your succulents stay the focus.
5. Photograph Succulent Arrangements and Collections
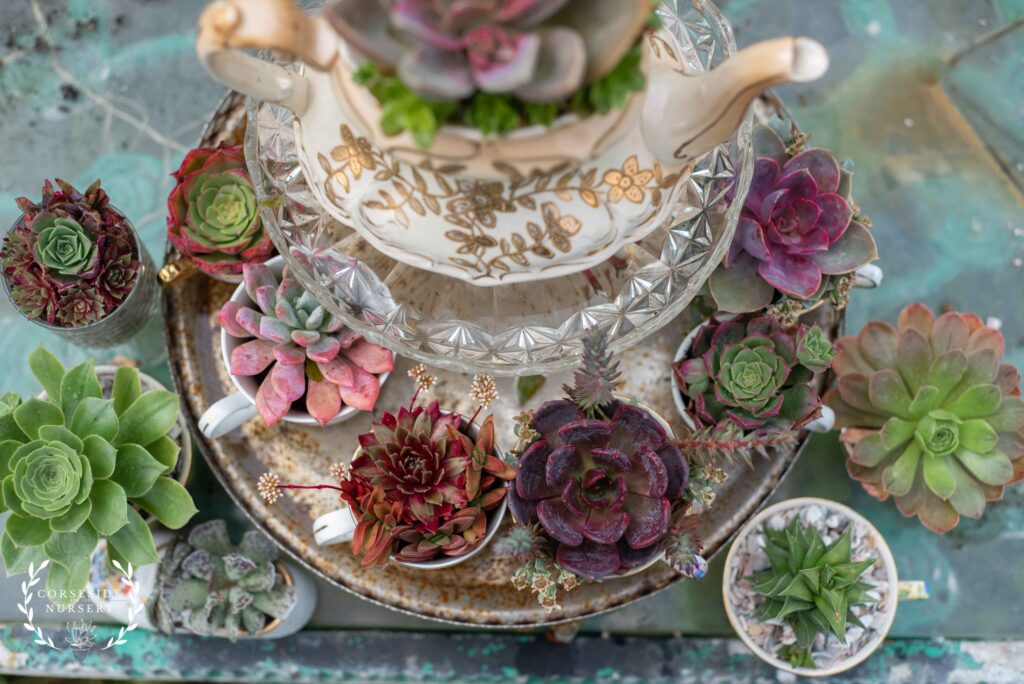
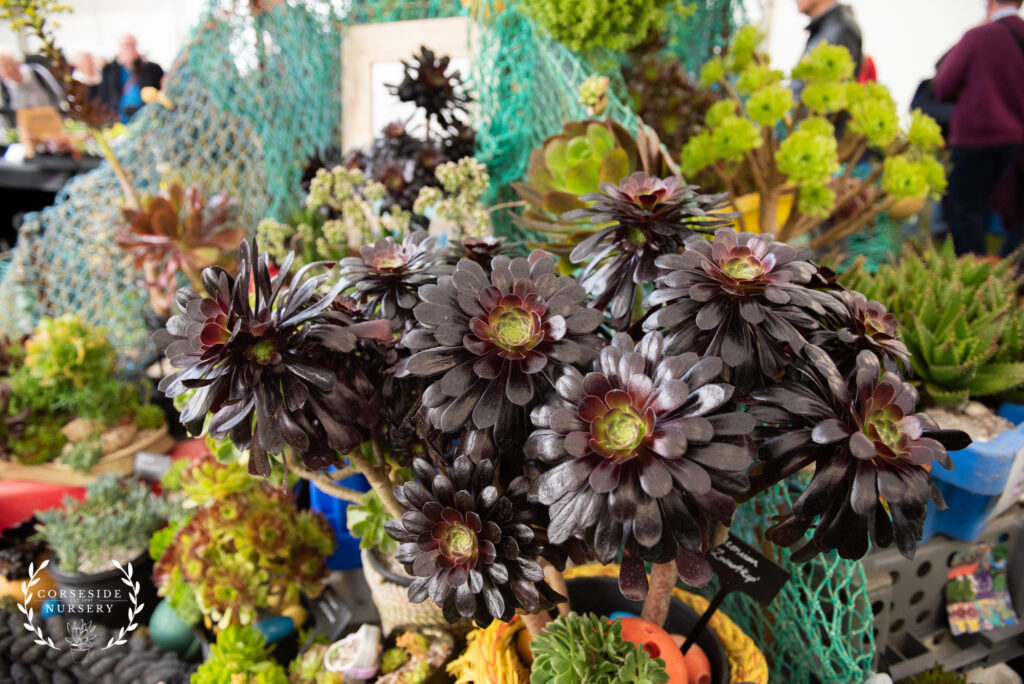
Individual plants are striking, but a group photo can really showcase variety. Photographing succulent arrangements, trays, or mixed pots is a great way to show off different textures and colours together. This is especially useful to inspire others with design ideas.
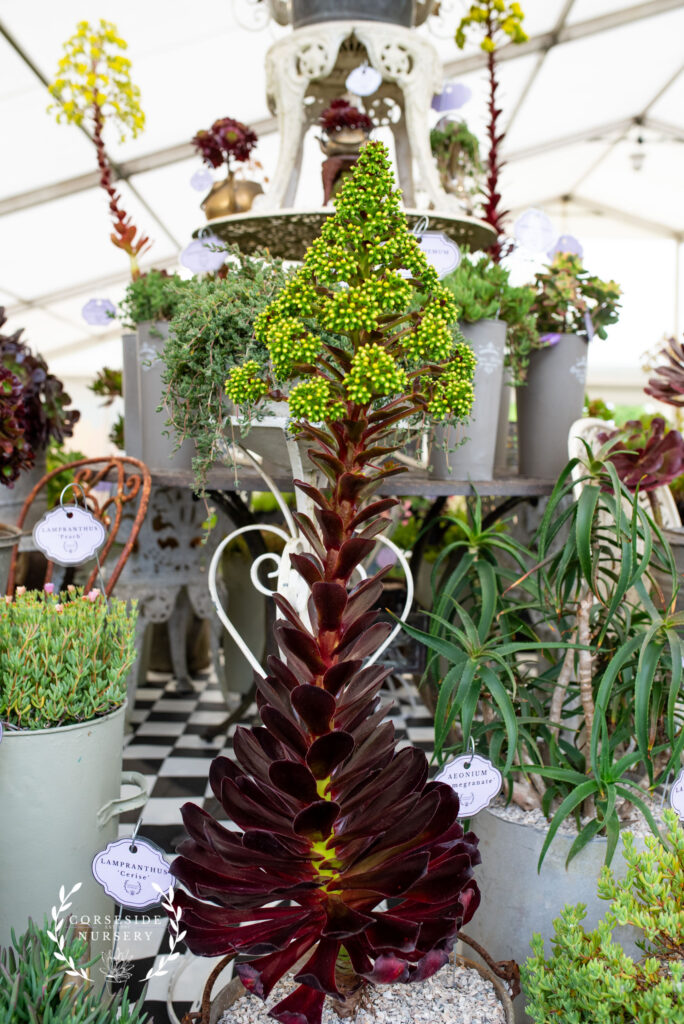
6. Experiment with Orientation: Portrait vs Landscape
When photographing succulents, don’t just think about what you’re capturing—consider how you frame it. Switching between portrait (vertical) and landscape (horizontal) orientation can completely change the feel of your photo.
Portrait orientation works beautifully for tall succulents like Aeoniums or Aloes, drawing the eye upward and emphasising height. It’s also great for product-style shots if you’re showcasing individual succulent plants for sale.
Landscape orientation gives a broader view, making it perfect for capturing trays of mixed succulents, wide succulent arrangements, or your entire indoor succulent display. It’s also great for succulents that are ‘bushy’, capturing their sumptuous shape.
By experimenting with both orientations, you’ll learn which best highlights the unique shape, growth habit, and colour of each succulent. Sometimes, simply turning your phone or camera can turn a good shot into a striking one.
7. Create Background Blur with Distance

One of the secrets to professional-looking plant photography is bokeh—that soft, blurred background that makes your succulent pop in the photo. Many cameras and phones now have a “portrait mode” that creates this effect automatically, but even if you don’t have that feature, you can achieve it by adjusting distance.
Here’s how:
Place your succulent a little further away from the background (for example, set your plant 30–60cm in front of a wall instead of right against it).
Get close to your succulent with the camera and focus on the plant itself.
The further your background is behind the succulent, the more blurred it will look in the final photo.
8. Show Scale for Reference
Succulents come in all sizes—from tiny 5cm pots to large statement plants—and photos can sometimes make it hard to remember their true size. Adding a simple reference object in your photo helps you to understand the scale of the plant easily when looking bad at old photos.
Place your succulent next to a common item like a mug, book, or your hand. My Grandad used to use a lighter or a matchbox when taking photos of his giant vegetables!
Use decorative pots or planters that give context (a windowsill pot vs a large floor planter tells a story about size).
For selling plants, a clear size reference is especially important—people buying succulents online want to know exactly what to expect when their plant arrives.
Including scale not only improves your photography but also makes your photo collection more useful and informative.
And here’s one extra tip: treat your photography like your gardening—practice and patience make all the difference. Try setting yourself a small challenge this week, like photographing the same plant at three different times of day, or experimenting with both wide shots and close-ups. As you compare your results, you’ll start to notice how light, angle, and background change the mood of your photos.
The more you experiment, the more your eye will develop, and soon you’ll not only be growing beautiful succulents—you’ll be capturing their beauty in ways that inspire others too. 🌱✨
Thanks for reading!
Rosie Prosser